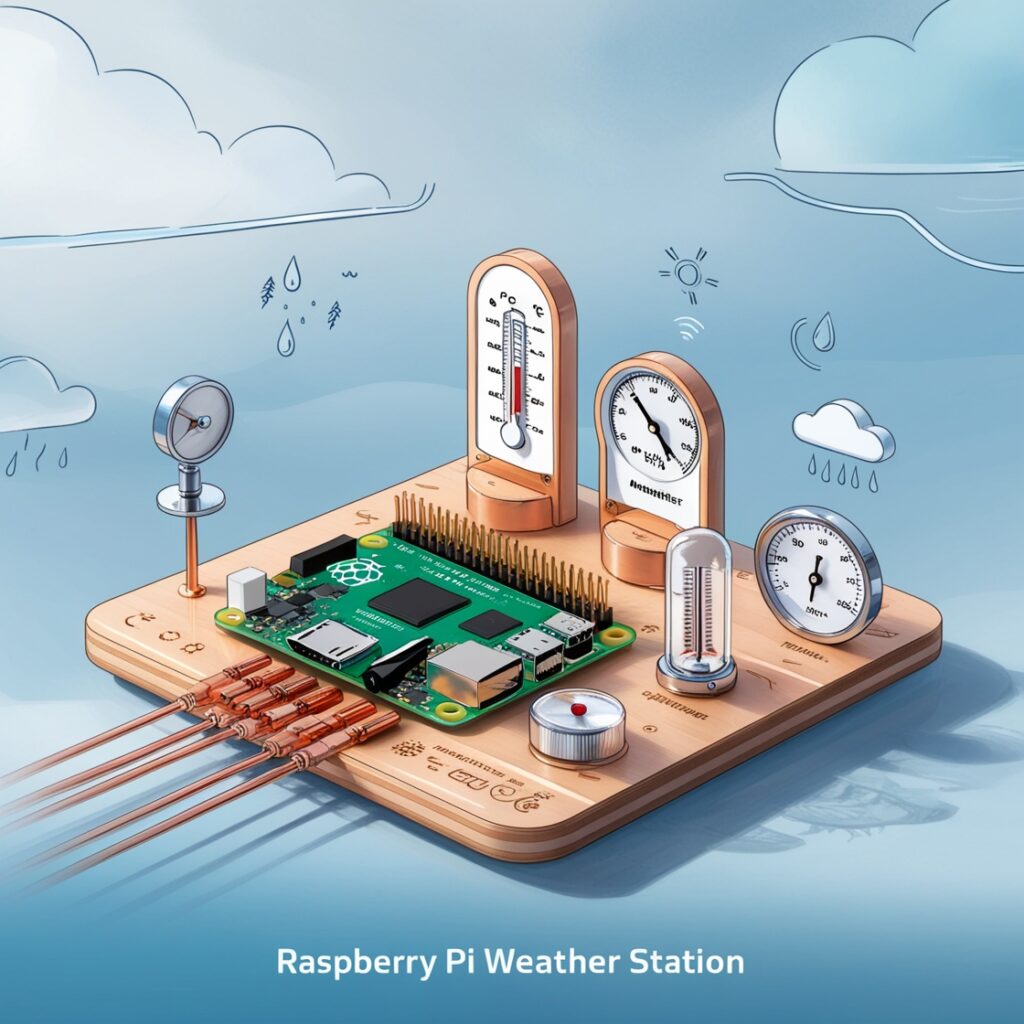
Creating your own Raspberry Pi weather station is an exciting project for tech enthusiasts and weather aficionados. This DIY project combines programming, electronics, and data analysis to track weather conditions in real time. Whether for personal use or as an educational tool, this guide will show you how to build a functional weather station using a Raspberry Pi.
Why Build a Raspberry Pi Weather Station?
Building a Raspberry Pi weather station is not only a great learning experience but also offers several benefits:
• Educational Value: Learn coding, electronics, and data logging.
• Custom Data Collection: Gather hyper-local weather data.
• Cost Efficiency: Build a powerful weather tracker at a fraction of the cost of commercial stations.
What You’ll Need
Here’s a list of essential components and tools to build your Raspberry Pi weather station:
Hardware
• Raspberry Pi: Any model with GPIO pins (Raspberry Pi 4 recommended).
• Weather Sensors:
• DHT22 (temperature and humidity sensor).
• BMP280 (barometric pressure sensor).
• Optional: Wind and rain sensors for more advanced tracking.
• Breadboard and Jumper Wires: For easy connections.
• MicroSD Card: To store the operating system and data (16GB or more).
• Power Supply: 5V micro-USB or USB-C adapter.
Software
• Raspberry Pi OS: Installable via Raspberry Pi Imager.
• Python: Pre-installed on Raspberry Pi OS.
• Libraries: Adafruit’s sensor libraries for Python.
Step-by-Step Guide to Building Your Raspberry Pi Weather Station
Step 1: Set Up Your Raspberry Pi
1. Download and install Raspberry Pi OS using the Raspberry Pi Imager.
2. Connect your Raspberry Pi to a monitor, keyboard, and mouse.
3. Power up the Raspberry Pi and configure it for first use. Ensure Wi-Fi and SSH are enabled for remote access.
Step 2: Connect the Weather Sensors
a. Wiring the DHT22 Sensor
• Connect the VCC pin to a 3.3V GPIO pin.
• Connect the GND pin to the Raspberry Pi ground.
• Connect the Data pin to GPIO4 (or any other available GPIO pin).
b. Wiring the BMP280 Sensor
• Use the I2C interface for connection:
• VCC → 3.3V pin.
• GND → Ground.
• SCL → GPIO3.
• SDA → GPIO2.
Step 3: Install Required Libraries
Open a terminal and install Python libraries for sensor communication:

Step 4: Write the Python Script
Create a Python script to read sensor data.

Save the script as weather_station.py and run it using:

Step 5: Log Data to a File or Database
Store your data for analysis and visualization.
Log to a CSV File:

Use SQLite for Structured Storage:

Set up a database and write data to it using Python.
Step 6: Add a Dashboard for Visualization
Use tools like Flask or Dash to create a web interface for your weather station. Display real-time graphs with data from your sensors.
Example libraries:
• Matplotlib: For charts and graphs.
• Plotly Dash: For interactive dashboards.
Advanced Features
Once your basic Raspberry Pi weather station is working, consider adding:
• Wind Speed and Rainfall Sensors: Measure more advanced weather metrics.
• Data Upload to the Cloud: Use AWS, Google Cloud, or Thingspeak for online data storage and access.
• Mobile Notifications: Send alerts for weather changes using services like Twilio.
Common Challenges and Solutions
1. Inconsistent Data Readings
• Solution: Ensure proper sensor connections and power supply.
2. Sensor Calibration
• Solution: Calibrate sensors using known values for higher accuracy.
3. Data Loss During Power Outages
• Solution: Use a UPS (Uninterruptible Power Supply) for your Raspberry Pi.
Conclusion
Building a Raspberry Pi weather station is a rewarding project that combines creativity, programming, and engineering. With the ability to monitor temperature, humidity, and pressure in real-time, this DIY solution is perfect for hobbyists, students, and even weather enthusiasts.
Get started today and transform your Raspberry Pi into a fully functional weather station. Let your curiosity guide you as you expand its capabilities!


I don’t think the title of your article matches the content lol. Just kidding, mainly because I had some doubts after reading the article.
I don’t think the title of your article matches the content lol. Just kidding, mainly because I had some doubts after reading the article.
Your point of view caught my eye and was very interesting. Thanks. I have a question for you.
I’ve read some just right stuff here. Certainly price bookmarking for revisiting.
I wonder how a lot effort you place to create the sort of excellent informative site.
Thanks for sharing. I read many of your blog posts, cool, your blog is very good.
I’ve been exploring for a bit for any high-quality articles or blog posts on this kind of space .
Exploring in Yahoo I ultimately stumbled upon this
website. Reading this information So i’m satisfied to express that I’ve a very good uncanny feeling I found
out exactly what I needed. I most definitely will make certain to don?t overlook this site and provides it a glance on a relentless basis.
I really like your blog.. very nice colors & theme.
Did you design this website yourself or did you hire someone to do it for you?
Plz respond as I’m looking to construct my own blog and would like
to find out where u got this from. cheers